Our website is made possible by displaying online advertisements to our visitors.
Please consider supporting us by disabling your ad blocker.
MaGeSY ® R-EVOLUTiON™⭐⭐⭐

  • How To Make Deep House 2018 TUTORiAL-SYNTHiC4TE
    November 19th, 2018 ⚡
    Categories: TUTORiALS

    image

    How To Make Deep House 2018

    SYNTHiC4TE | Nov 19 2018 | 3.69 GB

    Starting with a template, we build different grooves in the session view before adding bass lines, the all important jazz style chords, sampled pads, sax and vocals, so we have a variety of loops to choose from. We then build a selection of different scenes so we can record them live into the arrangement view before going more in-depth to edit and tweak our arrangement into a more structured song. Finally we add automation to create interest and help with transitions, before mixing down the track and carrying out a self-master so it’s ready for the club. Packed full of tips and tricks from a certified Ableton instructor, we guarantee you’ll pick up some new techniques to take your skillz to the next level with this one! Enjoy!


    Viewed 2773 By Music Producers.


    • How To Use Chromaphone 2 TUTORiAL-SYNTHiC4TE
      November 19th, 2018 ⚡
      Categories: TUTORiALS

      image

      How To Use Chromaphone 2

      SYNTHiC4TE | Nov 19 2018 | 106 MB

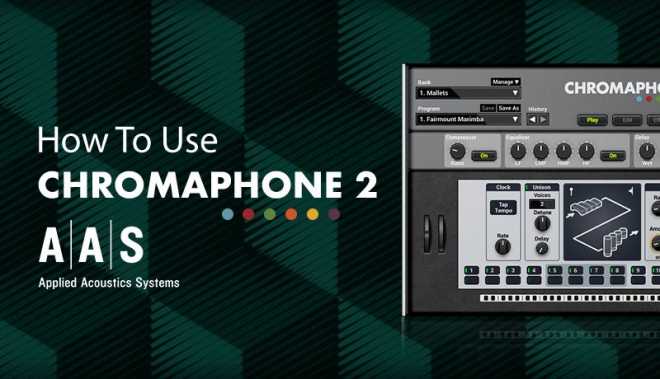
      ‘How To Use’ course – and this time he’s checking out Chromaphone 2. This cool and incredibly organic sounding VSTi is a Percussion Synthesizer that can create authentic tuned and unpitched percussion, along with other instruments, from scratch meaning you can create and design your own completely unique sounds instead of using samples. The sound engine features two resonators, each of which has eight possible modes: open and closed tube, marimba, beam, membrane, plate, string and manual modes. These resonators may be used in parallel (ie. independently), or coupled so that each modulates the other. Chromaphone then uses mallet and noise modules that simulate the difference in sound between soft and hard beaters giving you a multitude of outcomes and timbres. In this two-part course, 2Scoops firstly checks out the user interface and how the synth works demonstrating some of the presets before moving on to using Chromaphone on a track, shaping his own sounds for bass, leads and percussion.


      Viewed 3370 By Music Producers.


      • How To Use Metric AB TUTORiAL-SYNTHiC4TE
        November 13th, 2018 ⚡
        Categories: TUTORiALS

        image

        How To Use Metric AB TUTORiAL

        SYNTHiC4TE | Nov 13 2018 | 494 MB

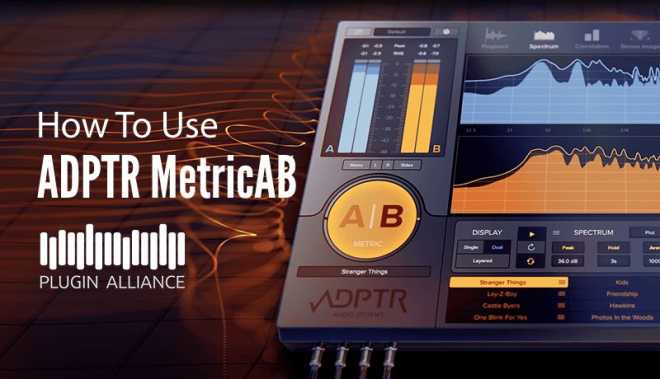
        Psy-Trance this week checking out how to use ADPTR’s Metric AB. This comprehensive solution for referencing mixes and masters is Nate’s ‘go-to’ plugin and over these two videos we get to see why. Firstly we check out how to set up our references with the track we’re working on and use its vital ‘one button’ loudness matching facility to match the level of your reference material to your DAW playback and also the comprehensive playback controls allowing playback to be synced to the DAW timeline or playback from cue points or loops. In the second video we take an in-depth look at the analysis options available which include Spectrum, Correlation, Stereo Image, Dynamics, and Loudness. With it’s clear user interface and various options in how you wish to view the two or more tracks you’re referencing, it’s easy to see why this plugin can prove invaluable in getting your tracks up to a professional standard before they’re released to the world.


        Viewed 8722 By Music Producers.


        • How To Make Timelapse TUTORiAL-SYNTHiC4TE
          November 13th, 2018 ⚡
          Categories: TUTORiALS

          image

          How To Make Timelapse TUTORiAL

          SYNTHiC4TE | Nov 12 2018 | 2.54 GB

          New course, and this time they’re showing us how to make their new atmospheric, synth-laden track – Timelapse. Once again, show us that keeping things simple can still have the ability to create awesome emotive soundscapes, and Timelapse, with it’s ever-shifting and phasing percussive elements along with a driving bassline and arpeggiated synth line is no exception. Over these twelve videos and a relatively short two and half hours, we start on a completely blank canvas, firstly building the kick and bass before adding the all-important arp and building up the groove with percussive elements. As we move into the arrangement of the track we continue adding more atmospheric synth effects, pads, and basslines before structuring the breakdown and main section, tweaking, automating and fine-tuning as we go, to get that distinctive sci-fi soundtrack-like end result.


          Viewed 1399 By Music Producers.


          • How To Make It Is What It Isn’t TUTORiAL
            November 13th, 2018 ⚡
            Categories: TUTORiALS

            image

            How To Make It Is What It Isn’t

            P2P | 12 November 2018 | 4.36 GB

            In this course he shows us how to make his new single ‘It Is What It Isn’t’ released on the mau5trap ‘Autonomous EP’. Starting with a blank canvas in Ableton 10, Julian recreates this instant hit from beginning to end, starting with the catchy emotive piano chord progression before moving on to a signature mau5trap pluck. Using his preferred synth, this course includes Julian’s sound design for the groove laden bass lines in both the verse and the awesome drop section, along with clever vocal processing, pad sound creation using re-sampled reverb tails, and the writing of drum and percussive elements throughout the track. Julian mixes and arranges as he moves through the course, constantly tweaking and automating so by the time we get to the mix-down and master section everything’s already sitting nicely in the mix.


            Viewed 1765 By Music Producers.


            • How To Use Byome TUTORiAL-SYNTHiC4TE
              November 13th, 2018 ⚡
              Categories: TUTORiALS

              image

              How To Use Byome TUTORiAL

              SYNTHiC4TE | Nov 12 2018 | 2.45 GB

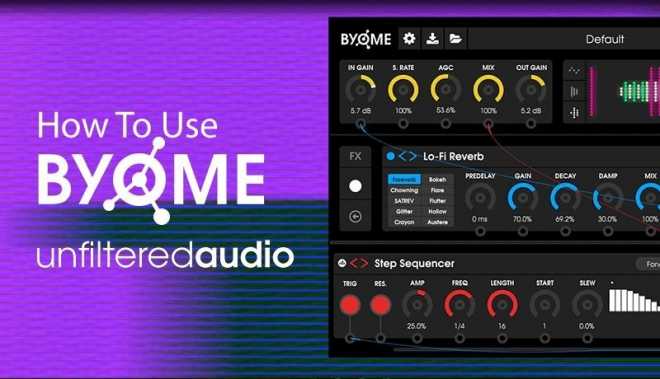
              Over these 13 videos Nate takes us on a highly detailed and in-depth look at how to make the most of this plugin and what it is capable of. Starting with an overview of the main controls we dive into the different modulation options and how we can use the macros to automate within our DAW, before looking at each of the effects available from delays, distortions, filters, reverbs, granular effects and dynamics which are all outstanding in their own right. However, this plugin really becomes something else when you start to connect up the cables using the modulation options which include LFO’s, Envelopes, randomisers, sequencers, and controllers. It is only then that you realise just how many options to manipulate your incoming signal are available to you and Nate demonstrates this beautifully with some practical examples. Byome is a one-stop-shop that can turn the mundane into something truly spectacular, and if you ever get tired of connecting up your own awesome patches, its handy randomise feature will let you literally roll the dice for endless possibilities along with endless hours of fun!


              Viewed 2919 By Music Producers.


MaGeSY TeleGram Subscribe & Stay up to date with all the Posts that are published in MaGeSY MaGeSY Podcast: Subscribe & Stay up to date with all the Audio Posts that are published in MaGeSY MaGeSY Instagram Official MaGeSY-Youtube Official MaGeSY-X Official MaGeSY-Facebook Official MaGeSY-Pinterest Official MaGeSY-WhatsApp Channel Official

With Adblocker the page loads slower & avoid enhanced new search


ಮ್ಯಾಜೆಸ್ಯ್